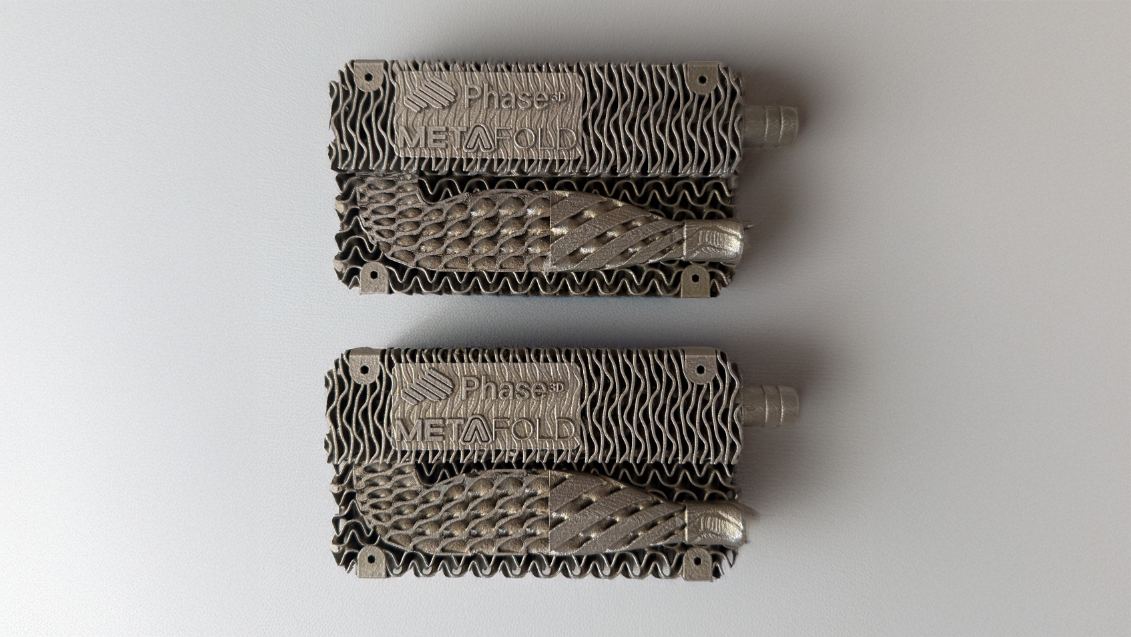
One of Phase3D’s customers, a serial production manufacturer, faced persistent challenges achieving consistent part quality. Despite maintaining tightly controlled production settings, including the same machine, part geometry, built layouts, print parameters, and build files, part quality varied unpredictably from run to run.
This variability between builds remained undetected until post-inspection during CT scanning, resulting in:
- Increased post-processing costs
- Higher inspection expenses
- Extended production timelines
Machine and build inconsistency is a widespread issue in additive manufacturing (AM), posing a significant challenge across the industry. As this customer’s experience showed, even with uniform setups, part outcomes can differ drastically. Without a quantitative, real-time method of ensuring build consistency, manufacturers face costly inefficiencies and quality risks.

The Solution with Fringe Inspection
To address these inconsistencies, the customer implemented Fringe Inspection, enabling real-time measurement and monitoring of each build in their serial production workflow.
Implementation Highlights:
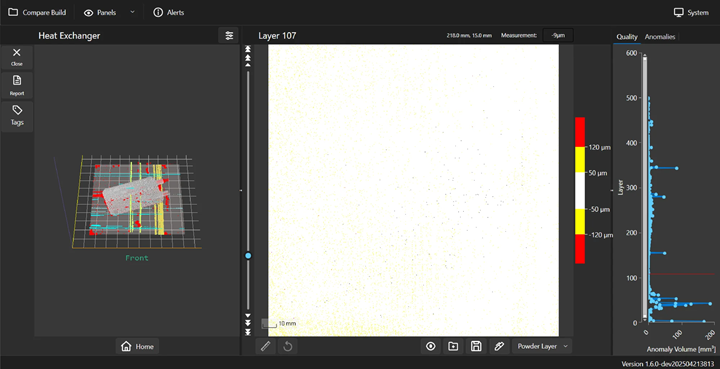
System Installation: Fringe Inspection was installed in less than 24 hours, instantly providing high-resolution heightmaps of every powder and melted layer.
Data Collection: With each build, the customer collected objective, layer-by-layer measurement data, transforming previously invisible variations into actionable insights.
Using Fringe Operator: Leveraging the Link feature in Fringe Operator, engineers could compare builds layer by layer, identifying anomalies and machine performance variations across runs.
By integrating Fringe Inspection, the customer shifted from reactive, post-build inspection to proactive, in-situ quality control.
Key Findings
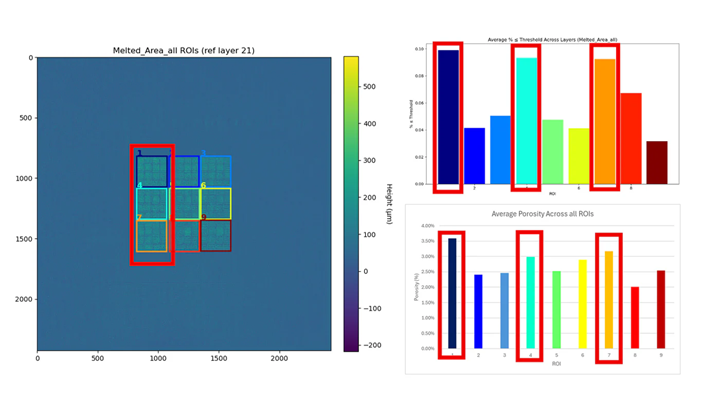
Build Inconsistency Uncovered: Using the Link feature, the customer identified inconsistencies between builds, despite using identical machines and print parameters. This underscored the critical need for real-time monitoring to ensure repeatable quality in AM.
Pinpointing Failure Sources: By comparing results from successful and failed parts, the customer traced the underlying causes of failure within the printing process. These insights allowed them to establish data-driven anomaly thresholds and improve their quality control protocols for future builds.
Establishing The “Golden Build”: A “Golden Build”, one that meets all quality specifications, was established as reference. With Fringe Operator, each new production build could be compared layer by layer against this benchmark, helping catch deviations early and ensuring consistency.
Quantifiable Impact
Adopting Fringe Inspection delivered a substantial financial savings. In a typical 100-part production run, the cost breakdown was as follows:
· Printing: $6,000
· Post-Processing: $10,000
· Post-Inspection: $5,000
Prior to implementation, the customer experienced a 5% failure rate, with defects only discovered after expensive post-processing and CT scanning. After adopting Fringe Inspection, 2% of failed builds were detected during the printing process, eliminating unnecessary downstream costs and saving the customer an estimated $30,000 in avoided post-processing and inspection expenses.
Final Takeaways
Identifying Variance: Fringe Inspection enabled real-time measurement of the build process, allowing the customer to pinpoint key variances between production runs.
A Reliable Data Source: Fringe Inspection has proven to be a vital tool for manufactures running serial production, delivering measurement-based, calibratable, and, most importantly, reliable quality data.
Enabling Scalable AM: By offering visibility into build variance and production quality, Fringe Inspection is setting a new standard in AM. This level of insight empowers manufacturers to move confidently toward full industrialization.
For this customer, Fringe Inspection transformed their quality assurance process, enhancing efficiency, reducing costs, and enabling consistent part quality at scale. As AM continues to mature, in-situ monitoring will be essential to achieving reliable, repeatable, and profitable production.
Due to confidentiality, this case study is a representation of real events. No confidential figures were used, and all data is recreated based on reported findings.


Share: